

The Scottish Council for Voluntary Organisations is the membership organisation for Scotland's charities, voluntary organisations and social enterprises. Charity registered in Scotland SC003558. Registered office Caledonian Exchange, 19A Canning Street, Edinburgh EH3 8EG.
Getting started
Introduction
This module will allow you to access and start working on Milo.
If you just want to get the basics, Module 00 – Quick Start Guide, will enable you to access the system and start exploring. If you would like more step-by-step guidance, just start working through the rest of the modules.
Logging in
Milo is implemented on Salesforce, one of the world's top CRM platforms. All Milo users require a named Salesforce licence. If you do not have a licence, please contact your local Milo TSI contact to find out if one has already been assigned to you, or email milosupport@scvo.scot
When you are set up on the system as a user, you will receive an automated email from Salesforce with details of how to log in and a URL. You must create your own password on first-time login. Don’t worry - it is easy to reset passwords in the event you forget them.
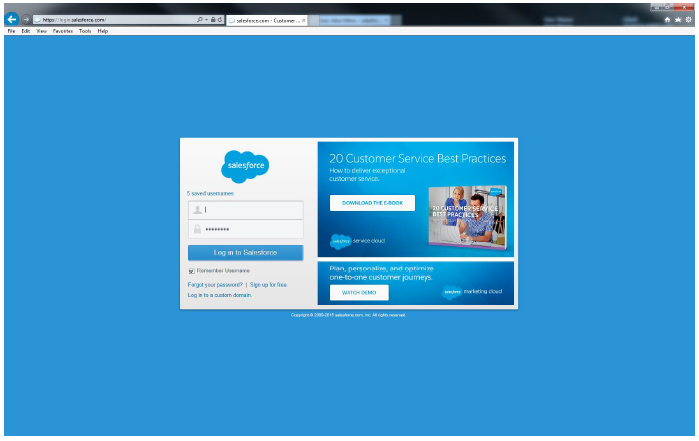
To access Milo, go to https://login.salesforce.com/ and enter your details.
First steps and features
The home screen
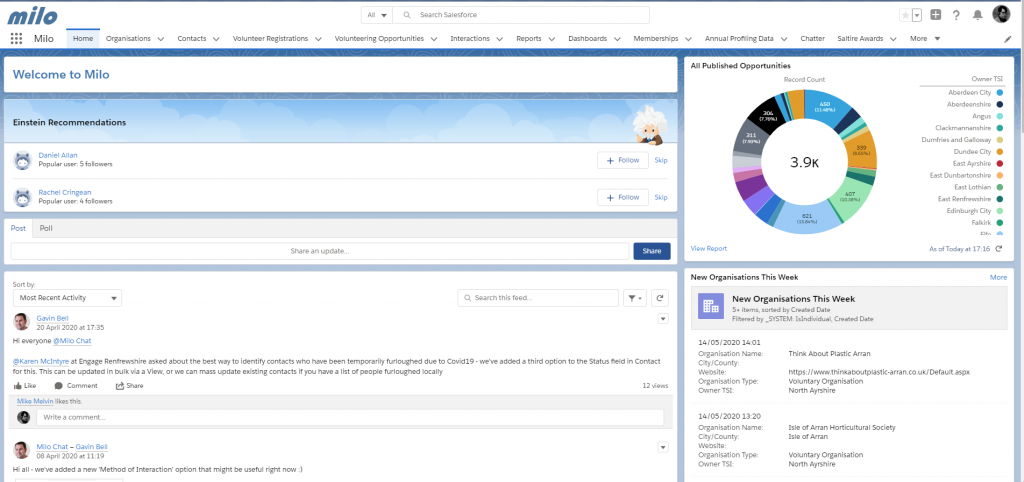
On login, you will be taken to your home screen - this is where you can see an overview of recent activity, live tasks and events, and any dashboards you have set up. You will see that along the top of the screen there are several tabs relating to different Milo objects, like Organisations, Contacts and Volunteer Registrations:
Global Search
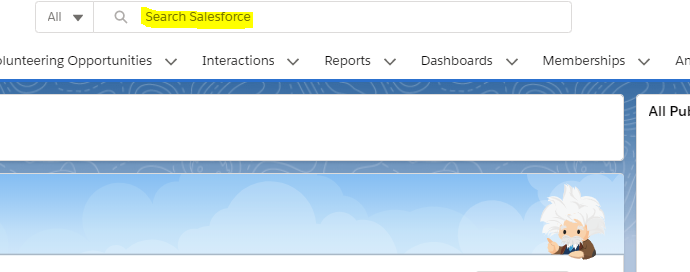
One of the most useful features is a global system-wide search. The search field is a bit like Googling within Milo – enter any organisation or contact name to find matching results and associations.
So, you could search for an organisation by using part of its name, by searching for the charity number, or even searching for the phone number.
You could also search for contacts by email address, or volunteer opportunities by the opportunity reference number (e.g. VO12345).
Try typing an organisation or charity number into search and it will start to suggest results.
Recycle bin
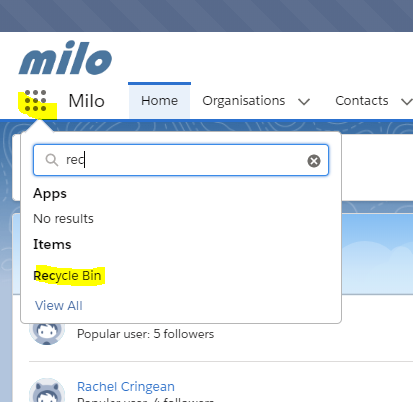
If you accidentally delete a record, fear not – there’s a recycle bin so you can view and restore recently-deleted items if necessary. To access it, click on the icon in the top left of the screen that looks like 9 dots and start to type ‘recycle bin’.
Milo Objects
The standard Milo objects (Organisations, Contacts, Volunteering Opportunities, etc.) appear as tabs along the top of the screen. You can choose which tabs you want to appear here – we’ll look at this at the end of this module.

By clicking into each of these tabs, you will go to the home screen for each object. For example, if you click on Organisations, you will see a screen like this:
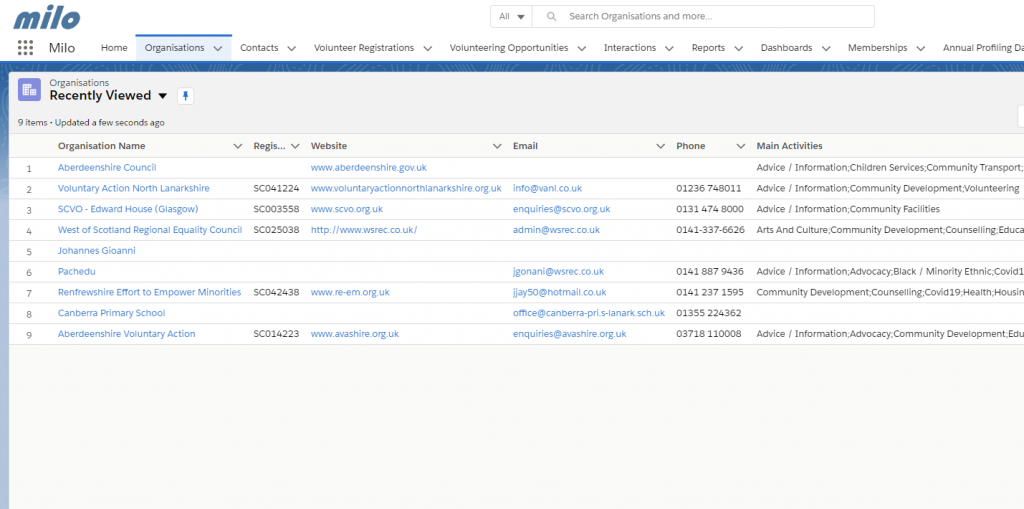
Don’t worry if no organisations are showing first time. The home screen defaults to a view of the most recent records you accessed (and there won’t be any if this is your first login).
As you start to use the system, it will remember the records you have accessed and show them to you when you click into the home screen of an object.
Although viewing recent organisations is often a very quick way of getting to the record you want, it is possible to set up different Views to bring up the records you work with most often.
Views
Salesforce allows users to create their own customised views of records on the system, using the fields within each object to sort and filter for exactly the information you want. For example, you might want to:
- View a list of all organisations with an ML1 postcode
- View a list of interactions with mental health organisations
- View a list of all volunteers between the ages of 18-25
A Salesforce view is like a simple report which allows you to select the records you want to see within an object, like Organisations or Contacts.
It’s very simple to create a view, and once you have saved a new view, you can use it every time you login.
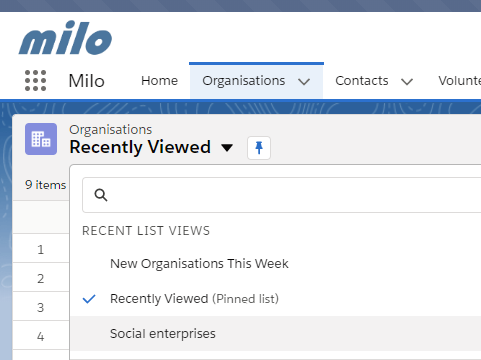
The view selector
Click on the Organisations tab to see the home screen as above. If you click on where it says 'Recently Viewed', you’ll see a dropdown menu of available Views:
If you select the 'All Organisations' view you will see that this really does return all organisations – over 40,000 of them.
This isn’t particularly useful unless the organisation you are looking for happens to be right at the start of the alphabet, so let’s try creating a more specific view.
Creating a view
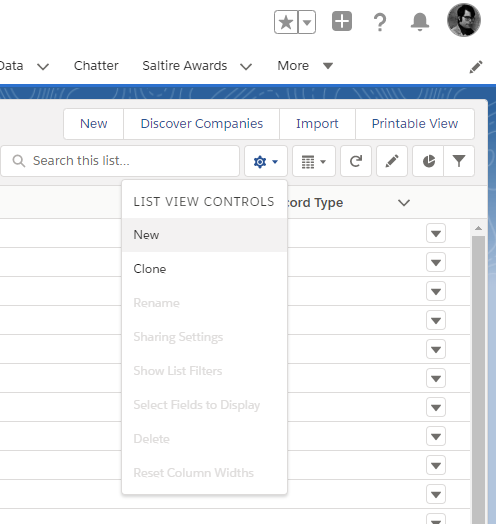
Click on the cog icon next to the search field on the right of the screen and click 'New'. (Clone is also useful if you want to base a new view on an existing one)
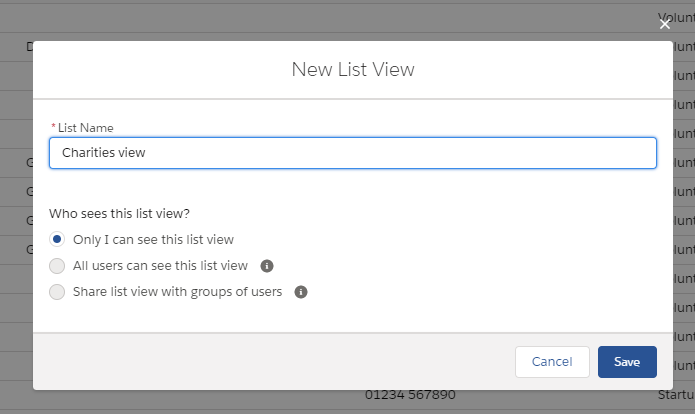
Select a name for your view. For this example, we'll call it 'Charities view'
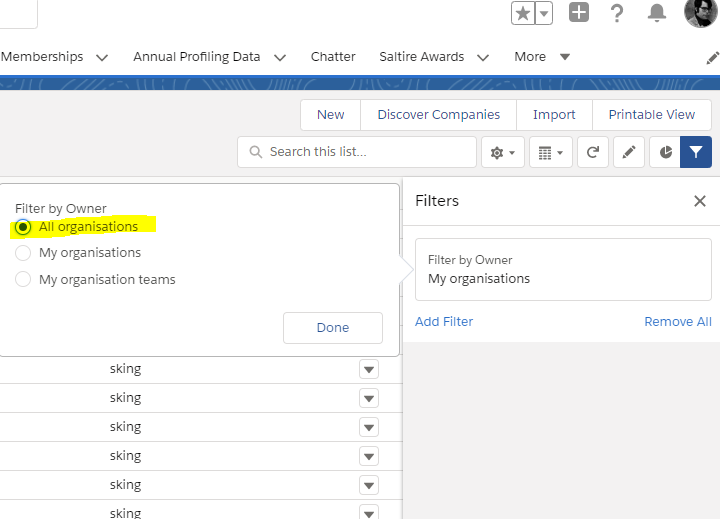
The default View shows 'My organisations', which will only show organisations you have created. This isn't usually that useful, so the first thing to do is click on Filter by Owner and change to 'All Organisations' and click Done.
We want to see all charities, so click Add Filter and scroll down the list of fields until you find 'Registered Charity'. We want to show all records where this box is ticked, so leave the Operator as 'equals' and change the value to 'true'.
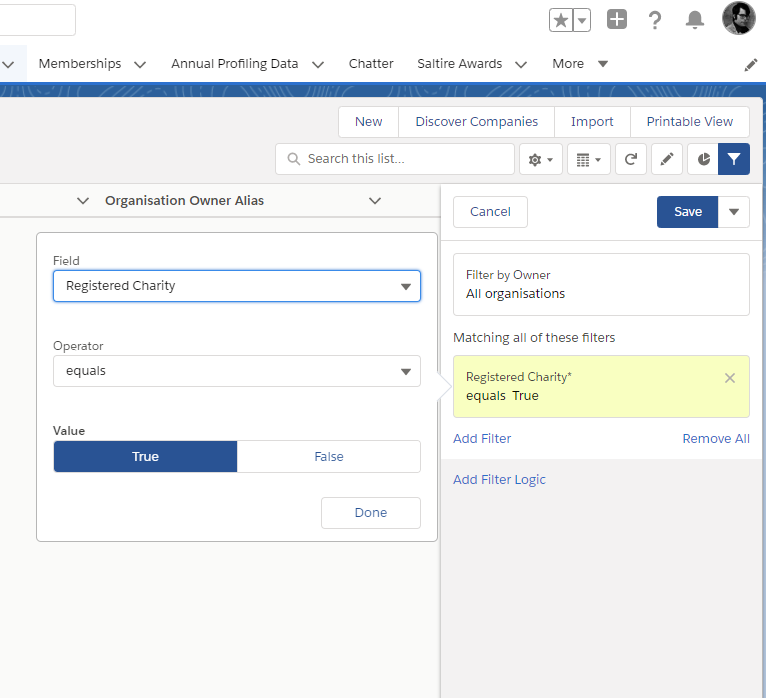
Click on Done and the view will filter for all records where the 'Registered Charity' checkbox field is ticked.
But how do we know it's doing it right?
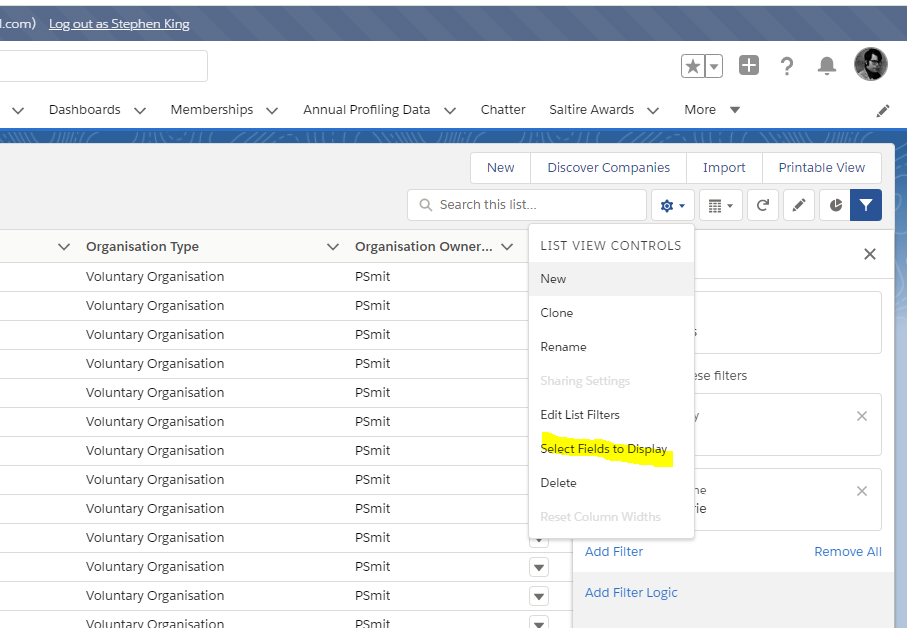
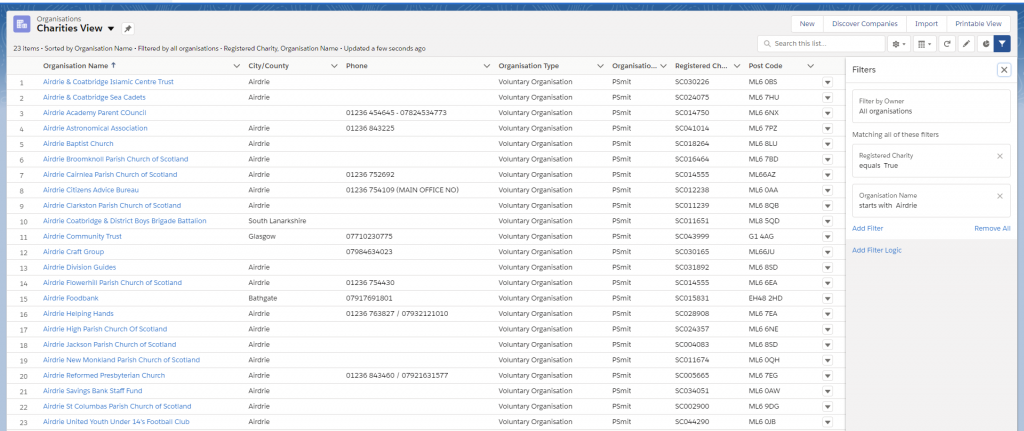
This is where you may want to change the fields displayed on the view, to make sure all charities are indeed showing. To do this, click on the cog icon again and then 'Select Fields to Display'.
Then scroll down all of the available fields from the Organisation object and add any you want to see in this view, like 'Registered Charity', 'Registered Charity Number' and 'Post Code'.
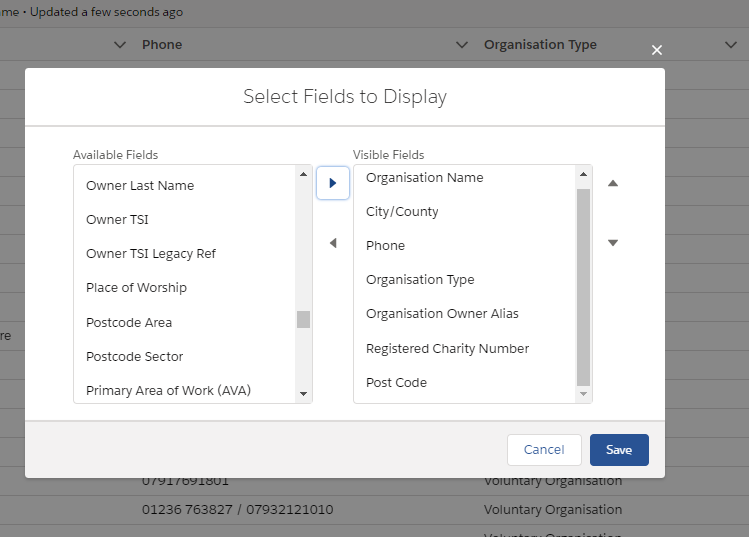
Click Save and that's it - you've created a View of all organisations where the 'Registered Charity' checkbox is ticked, and you've selected the individual fields you want to display.
But again, this shows every charity on the database. You probably want to narrow things down a bit. To do this, add an additional filter. Click on 'Add Filter' on the right hand side of the View again and add a filter so that the Organisation Name must start with 'Airdrie':
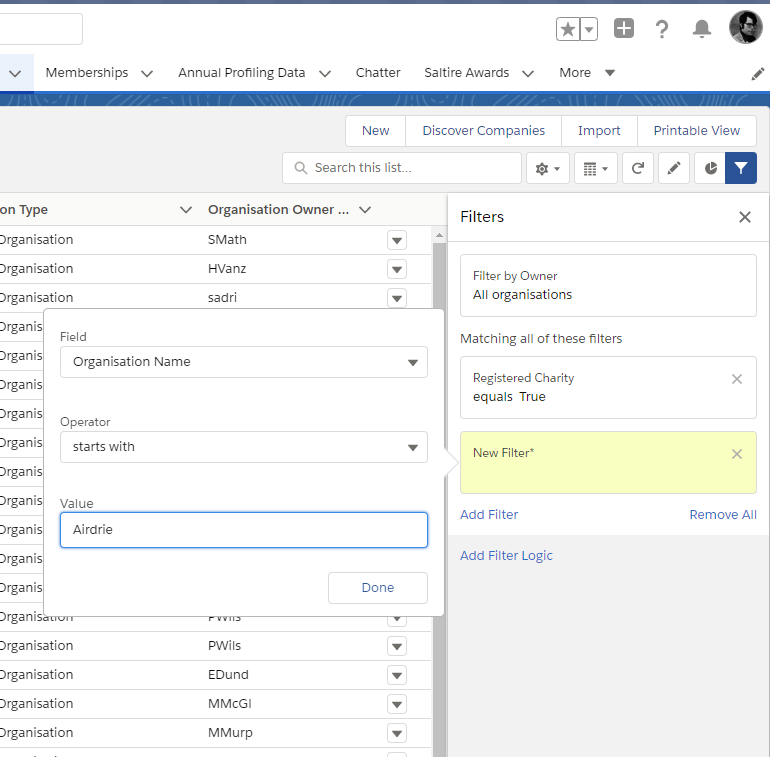
Click Done again and you'll see that you've now filtered down over 40,000 organisations to around 20, just by specifying that they must have 'Registered Charity' ticked, AND that the name must start with the word 'Airdrie'.
If you want to, you can add other filters, for example all charities within a particular postcode area, or all charities with names beginning with the letter Z.
As you get more advanced at creating views, you will want to use Filter Logic, so you can ask for results where (A or B) and C are true.
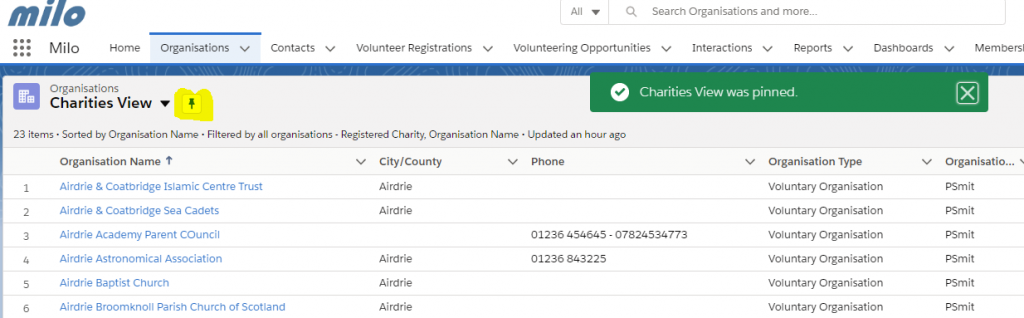
Pinning a View
If you want to make sure that a particular view always comes up first when you click into a tab, rather than the default 'Recently Viewed', you can click on the pin icon next to your preferred View, and it will always show this first.
Adding an object tab to your display
Each user will want to access different parts of the system on a day-to-day basis, so it’s possible to change the object tabs on your local display.
The default display shows the main Milo objects: Organisations, Contacts, Volunteering Opportunities and Volunteer Registrations.
If you don’t work with volunteers, you probably don’t need to have the Volunteering Opportunities or Volunteer Registrations tabs on your display.
Similarly, if you work with reports a lot, you may want to have Reports available as one of the main tabs.
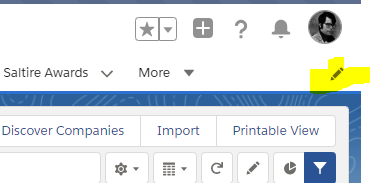
To manage your tabs, click on the Edit link to the right of the tab bar.
This takes you to the Edit Milo App Navigation Items screen. Try moving the tabs around to a different order. You can also add more items by clicking on the button at the top left. Try adding Recycle Bin or Reports to your tabs.
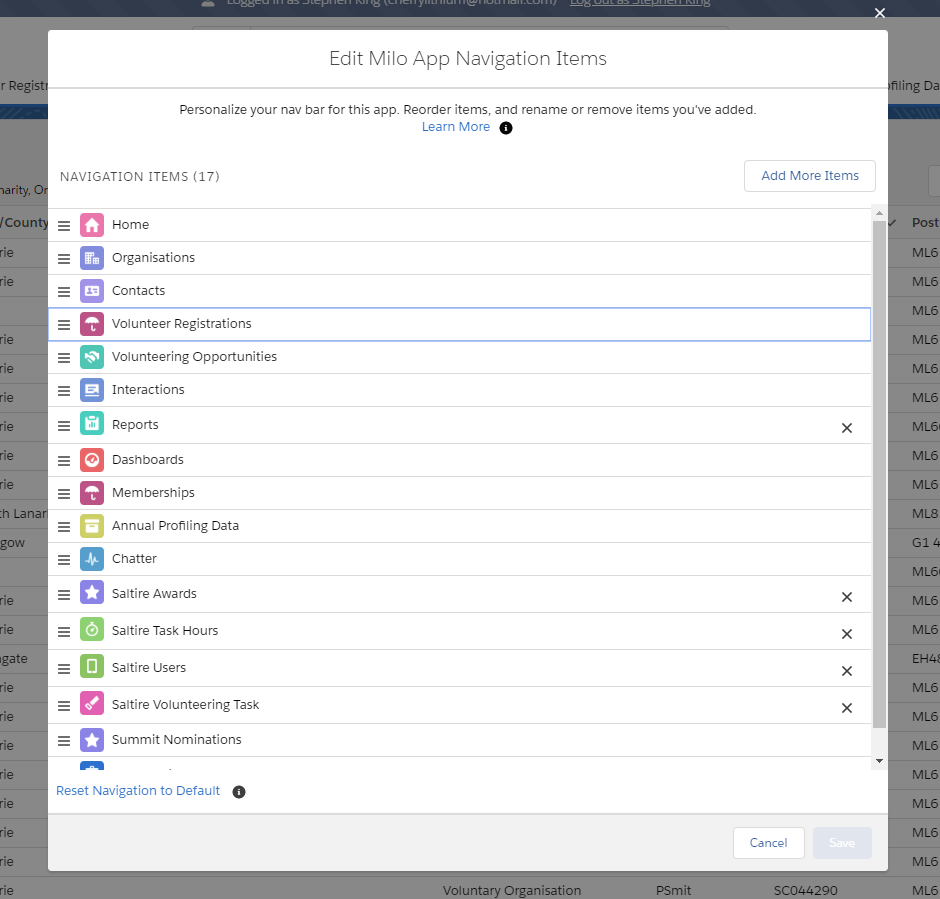
Click Save and you should see your tabs have been rearranged the way you want them. Don’t worry, this won’t change anyone else’s display, only yours.
If you change your mind, you can go back and add or remove tabs at any time.
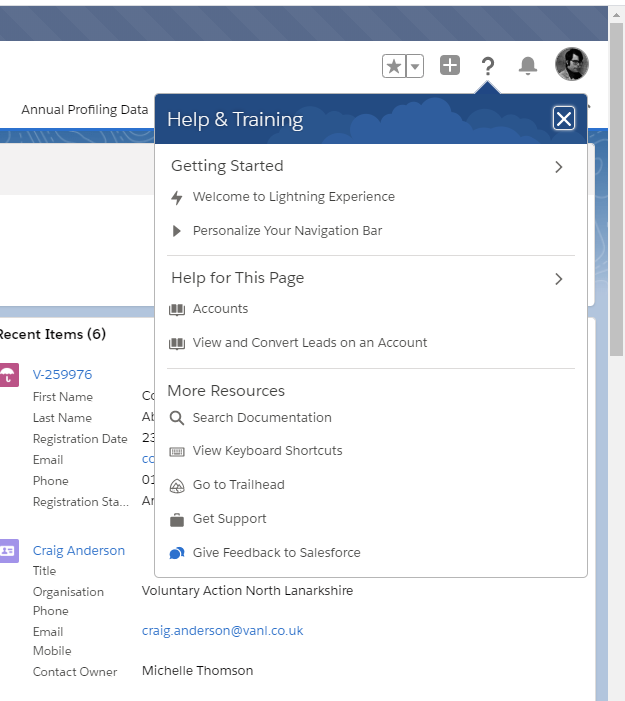
Salesforce help and training
Salesforce provides an excellent online help and training directory. While the custom Milo functionality is covered in these training modules, Salesforce has a wealth of other features that could complement your work. If you are interested in exploring Salesforce in more detail.
Click on the question mark at the top right of every screen to see what’s available.
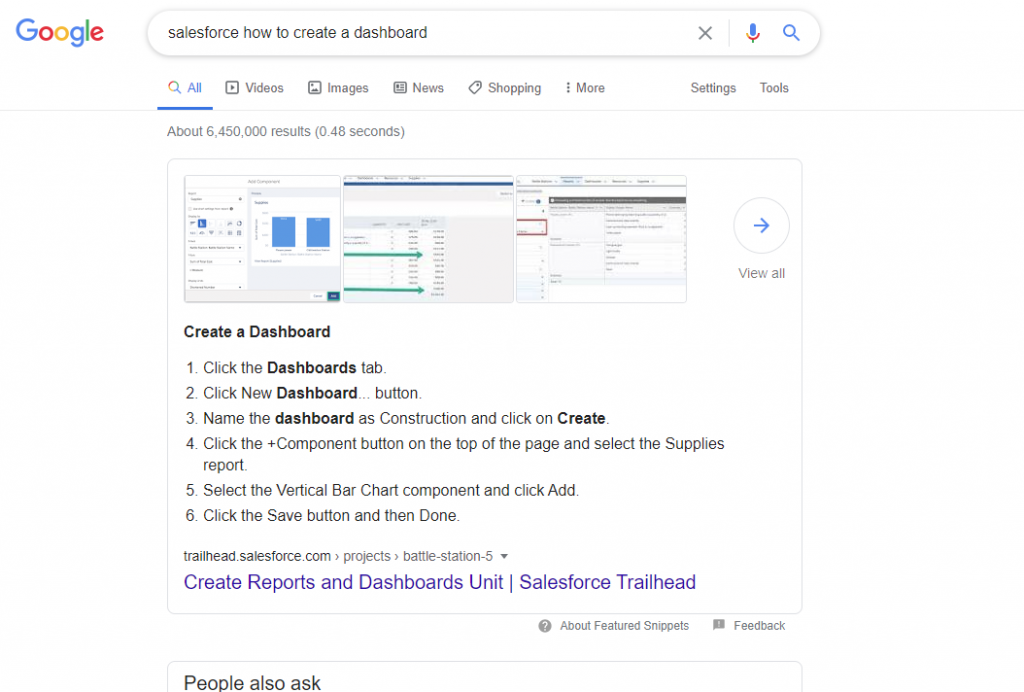
Remember, for Milo-specific questions (e.g. “How do I create a new Interaction with an Organisation?”), it’s best to refer to the training documentation or contact the Milo team on milosupport@scvo.scot – but for questions about Salesforce itself, the online help and training is a fantastic resource.
And because Salesforce is used across the world, you can often find helpful information just by Googling “Salesforce” and a question, e.g.:
Summary
In this Getting Started module, we have covered:
- Logging into the system
- The Home screen, and important features like Create New and Recent Items
- Milo objects
- Using and creating views
- Customising the available tabs on your display
- How to access Salesforce online help and training
This gives you the basic skills you need to navigate around Milo and make use of some key Salesforce functions. The next few modules will focus on using the standard Milo objects like Organisations, Volunteer Registrations and Volunteer Opportunities.
Remember – if you have any problems or get stuck, you can contact the Milo team at milosupport@scvo.scot